How to Migrate Azure VM Between Subscriptions Across Different Tenants Using Azure Site Recovery (ASR)
Migrating an Azure VM between different subscriptions across different tenants can be complex, but using Azure Site Recovery (ASR) simplifies the process. This guide walks through the steps to migrate a VM by treating the source VM as a physical server.
AZURE
Abhishek Gupta
9/14/20245 min read


Migrating Azure virtual machines (VMs) between subscriptions, especially across different tenants, can be a complex task. However, with Azure Site Recovery (ASR), this process becomes efficient and seamless. In this guide, we will walk through the steps to migrate an Azure VM between subscriptions and tenants by treating the source Azure VMs as physical servers. This approach helps bypass limitations of traditional Azure-to-Azure VM migration.
Why Use Azure Site Recovery?
Azure Site Recovery (ASR) is a robust disaster recovery solution that allows you to replicate, failover, and failback your workloads in case of failures. It's also an excellent tool for migrating workloads, including Azure VMs, to different regions, subscriptions, and tenants. Treating the source VMs as physical servers is an effective workaround when migrating between different Azure AD tenants.
Pre-requisites:
Before you begin, ensure the following:
You have appropriate access to both the source and target subscriptions.
Azure Site Recovery is enabled on the target subscription.
Prepare the target subscription with required networking, resource groups, and storage.
Ensure the VM is in a supported region for ASR replication.
Internet access on the source VM (for agent installation).
You must have permissions to create resources in both source and target tenants.
Step 1: Enable Azure Site Recovery in the Target Tenant
Log in to the target Azure subscription (destination).
Search for "Azure Site Recovery" in the Azure portal and click on "Site Recovery".
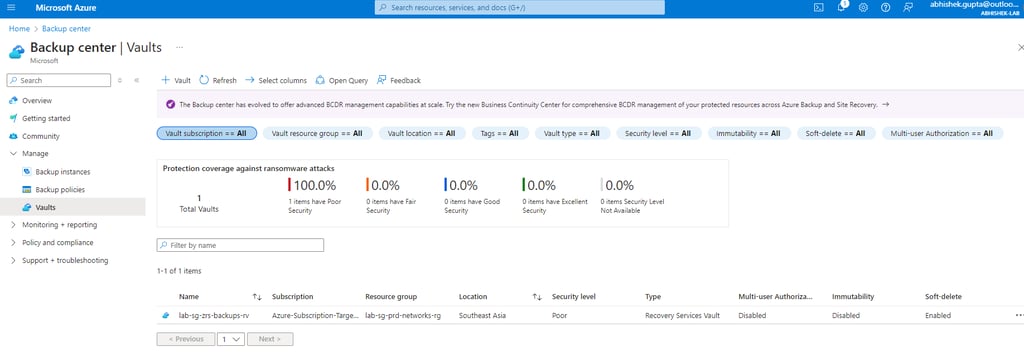
Click on "Create Recovery Services Vault".
Select the resource group and region for the Recovery Services Vault.
Give the vault a suitable name.
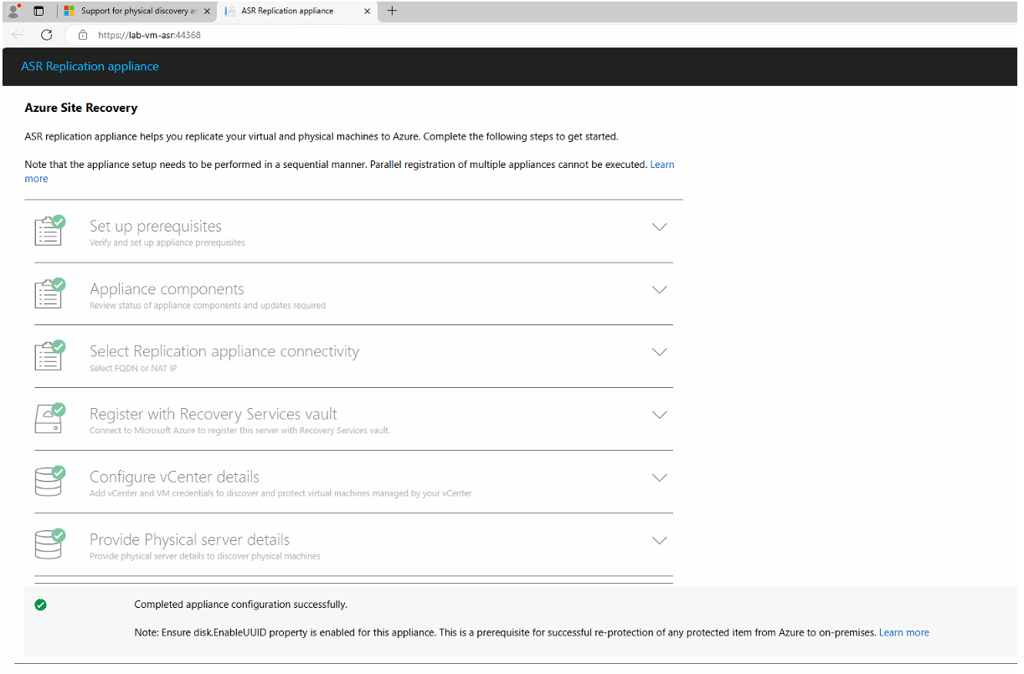
Once created, navigate to the Recovery Services Vault, and under "Getting Started", click "Enable Site Recovery".
Set the target region for migration and configure the necessary settings for the target subscription.
Step 2: Treat Source Azure VM as Physical Server
Since we are migrating the VM across tenants, the native Azure VM migration method won't work. Thus, we will treat the source Azure VM as a physical server to initiate replication.
Log in to the source subscription.
Go to the VM you want to migrate and note its configuration (disks, size, IP, etc.).
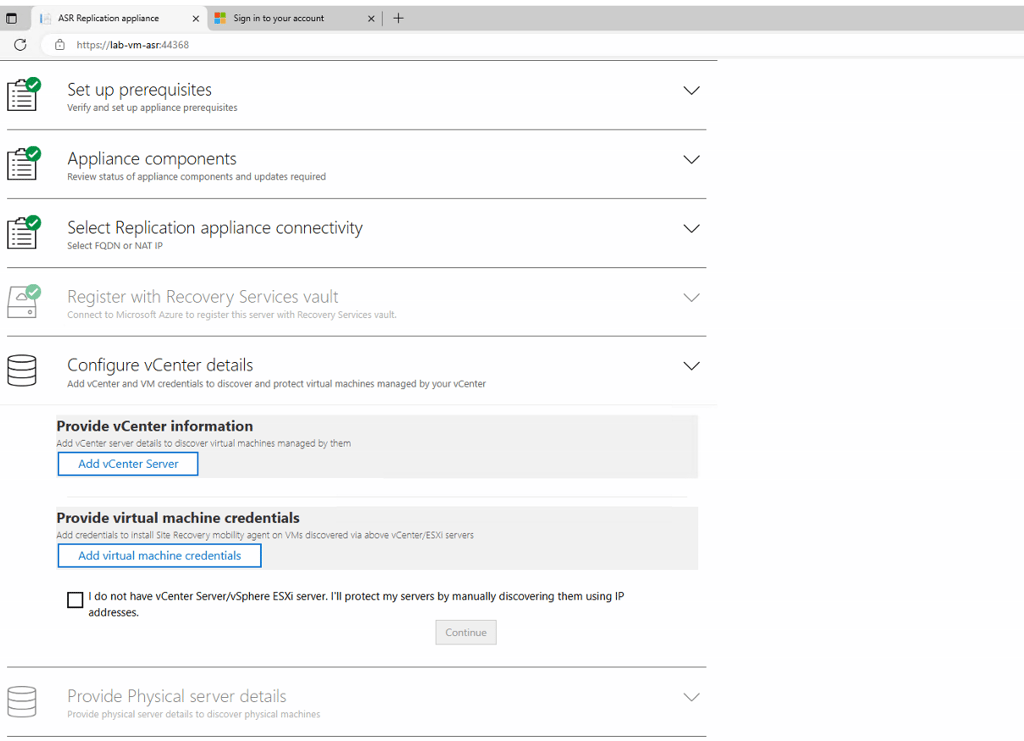
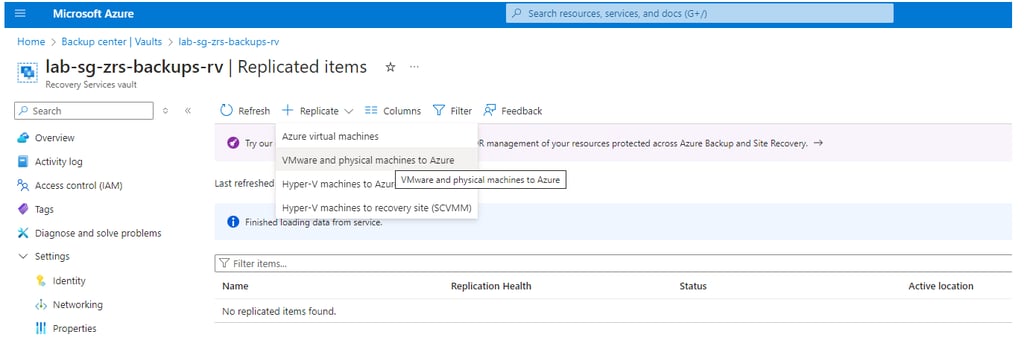
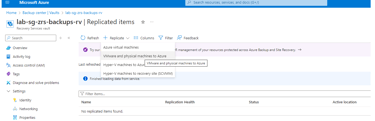
Open the Recovery Services Vault in the target subscription.
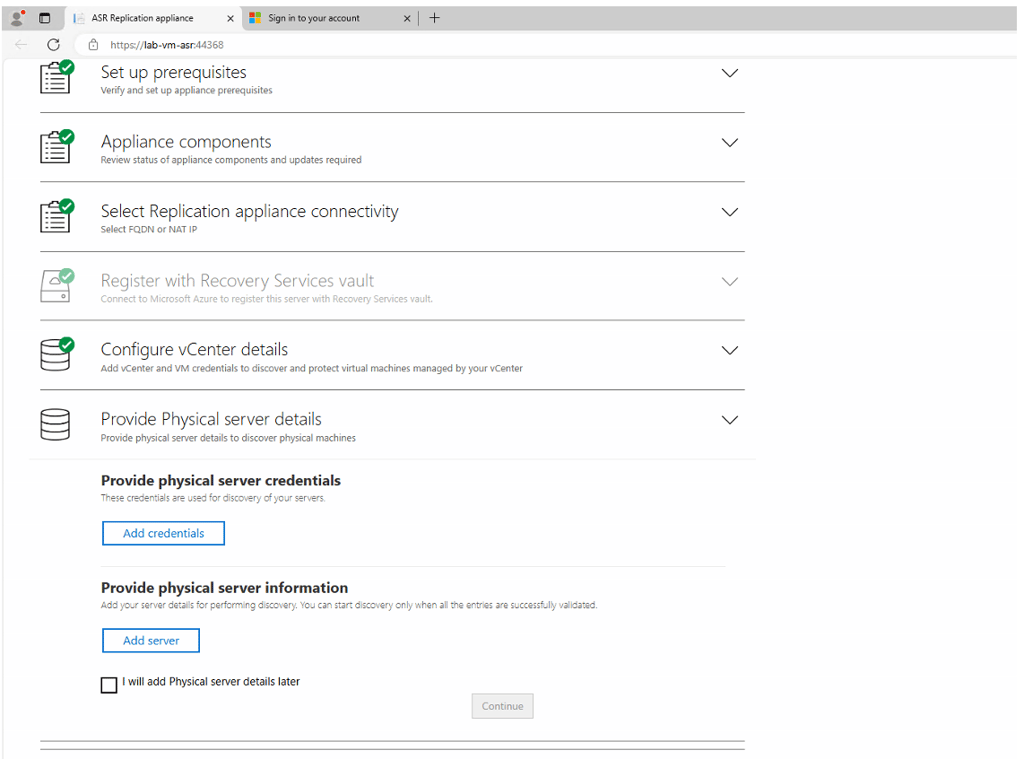
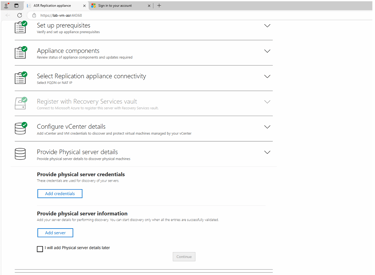
Under the Replicated items tab, select "Physical and VMware Servers" as the source.
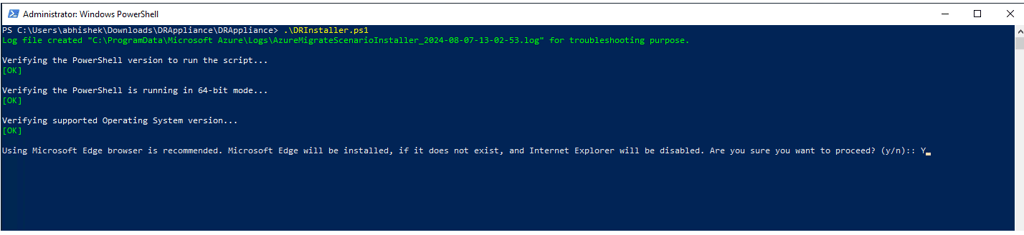
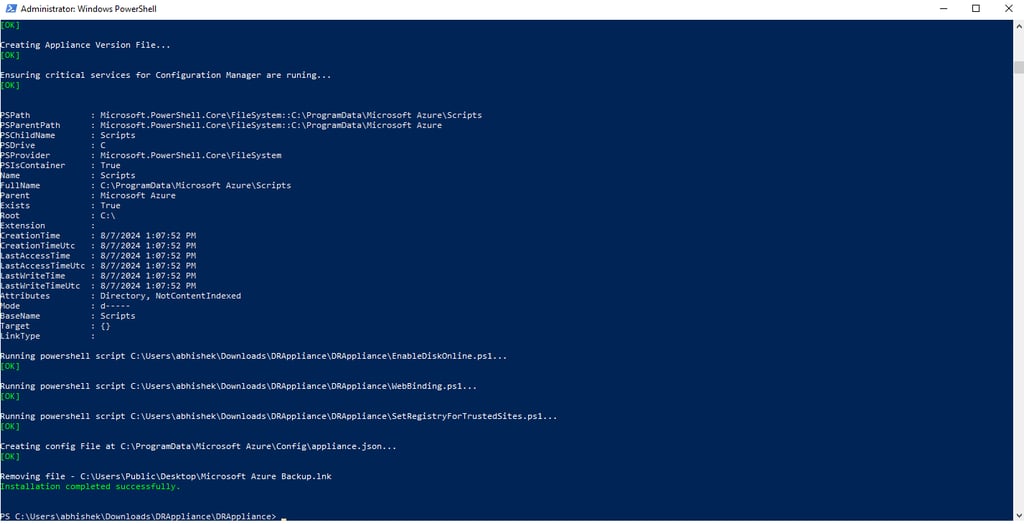
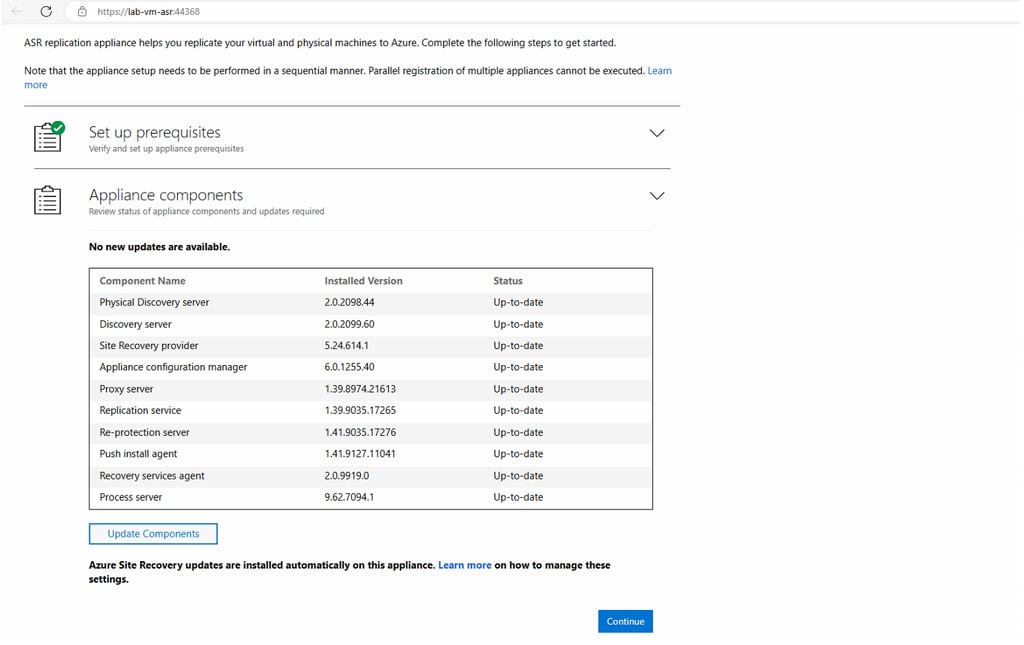
Download the Site Recovery Mobility Service agent from the vault settings.
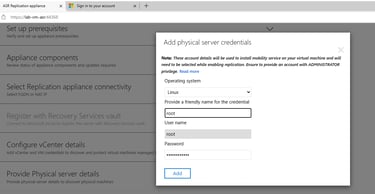
Install the Mobility Service agent on the source VM by following the guided steps.
Use PowerShell or manually install the agent inside the source VM.
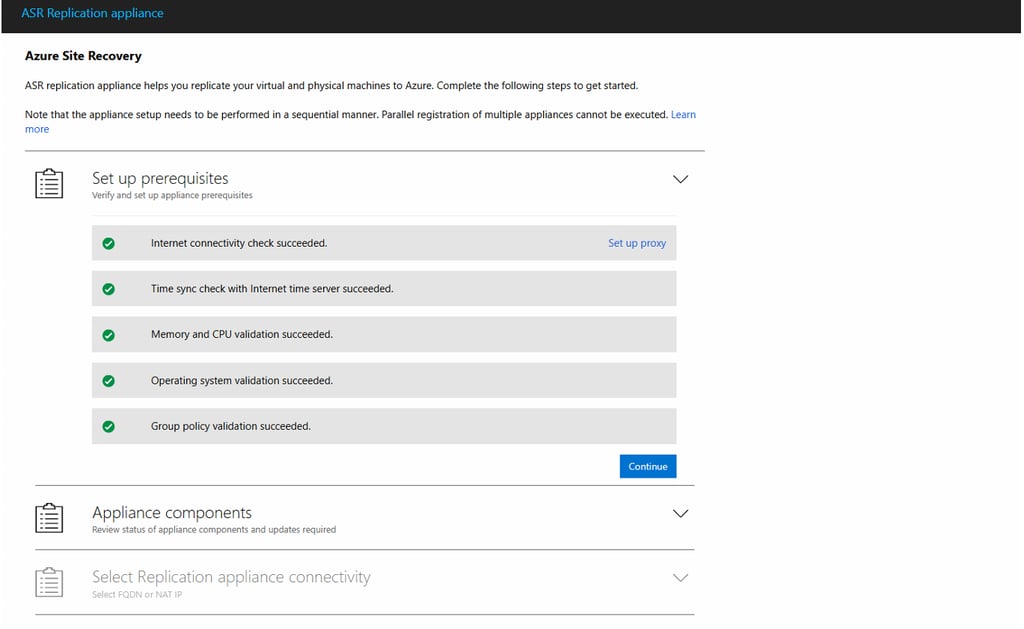
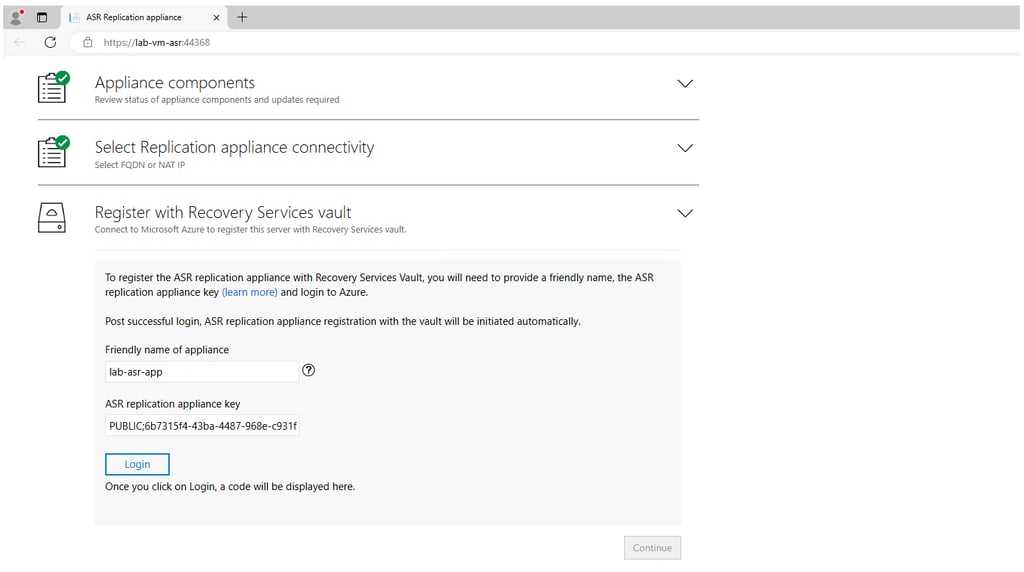
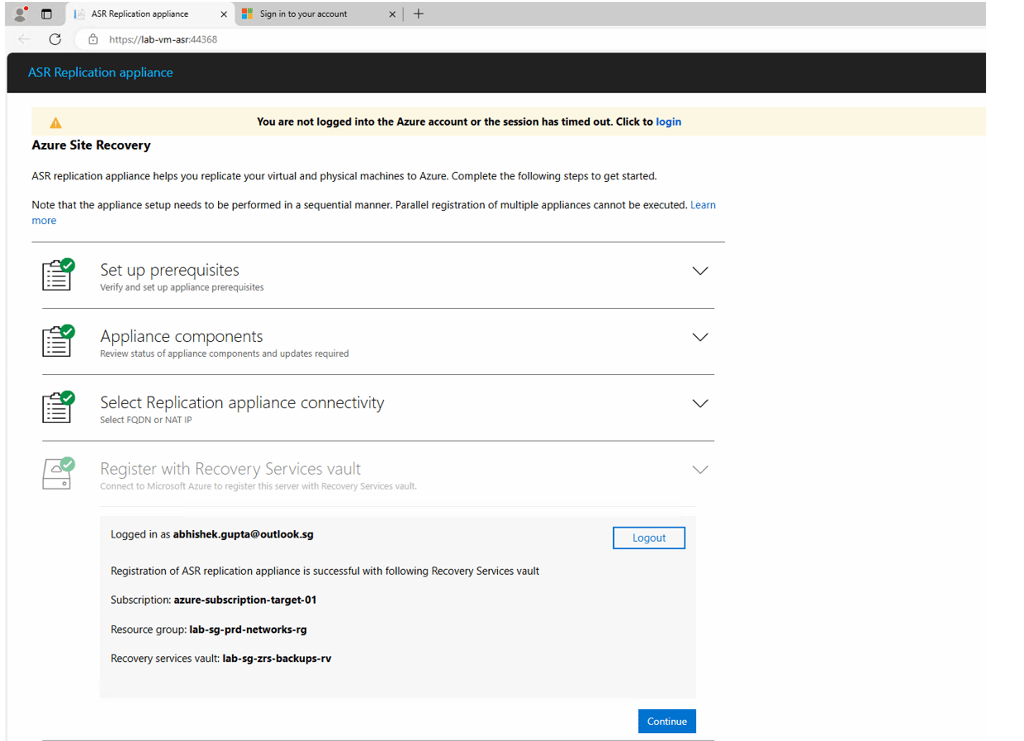
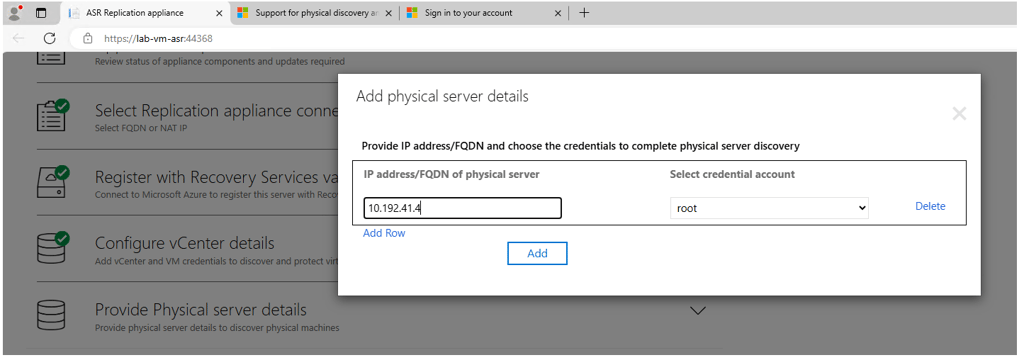
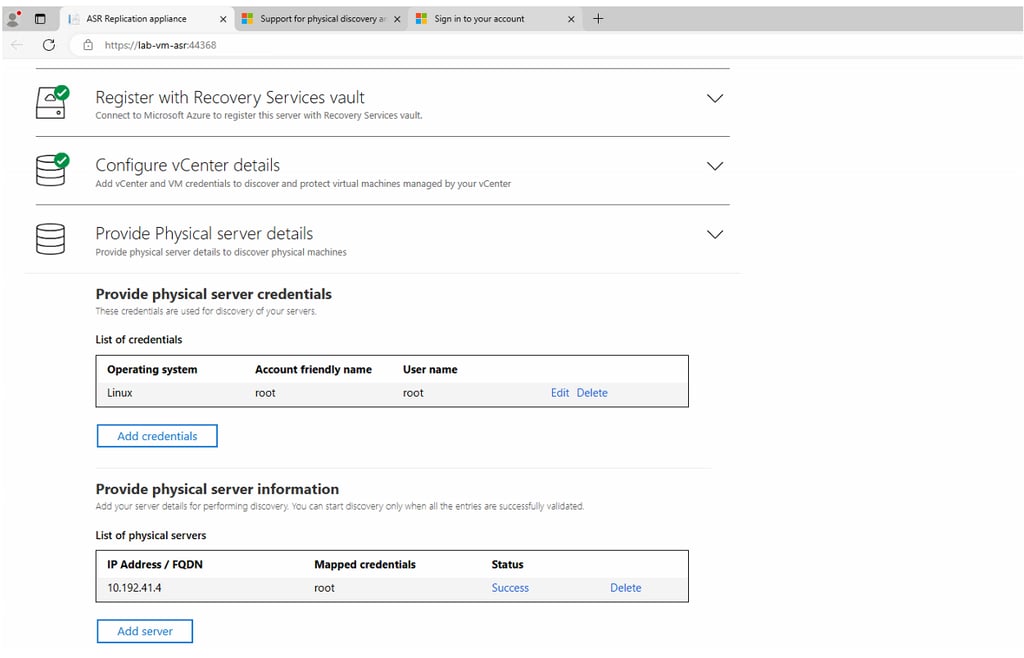
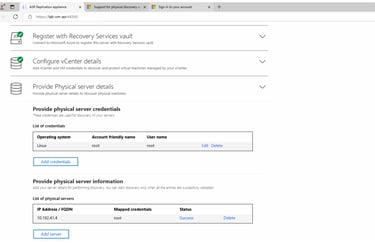
Once installed, configure the agent to register the source VM with the target subscription's Recovery Services Vault.
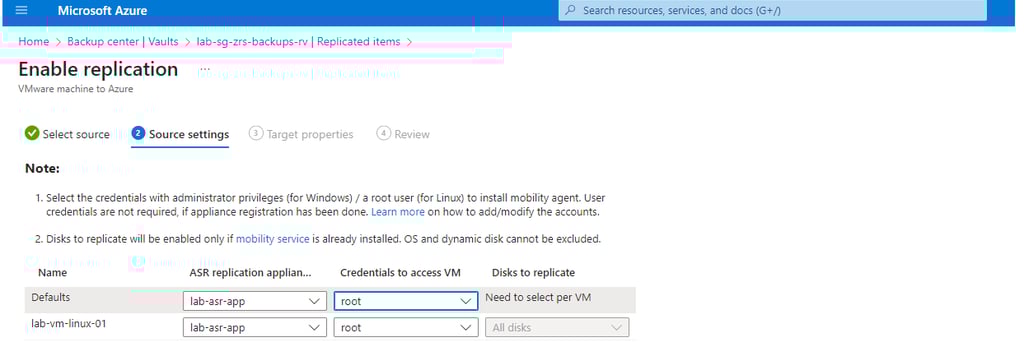
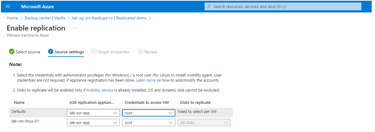
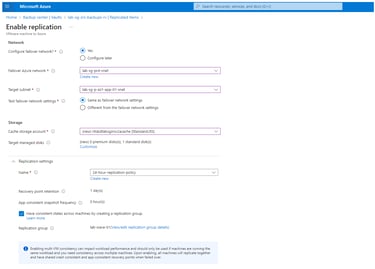
Step 3: Configure Replication
After the agent is installed, return to the Recovery Services Vault in the target subscription.
Click on "Replicate" under the Getting Started section.
In the replication wizard, select Physical Server as the Source.
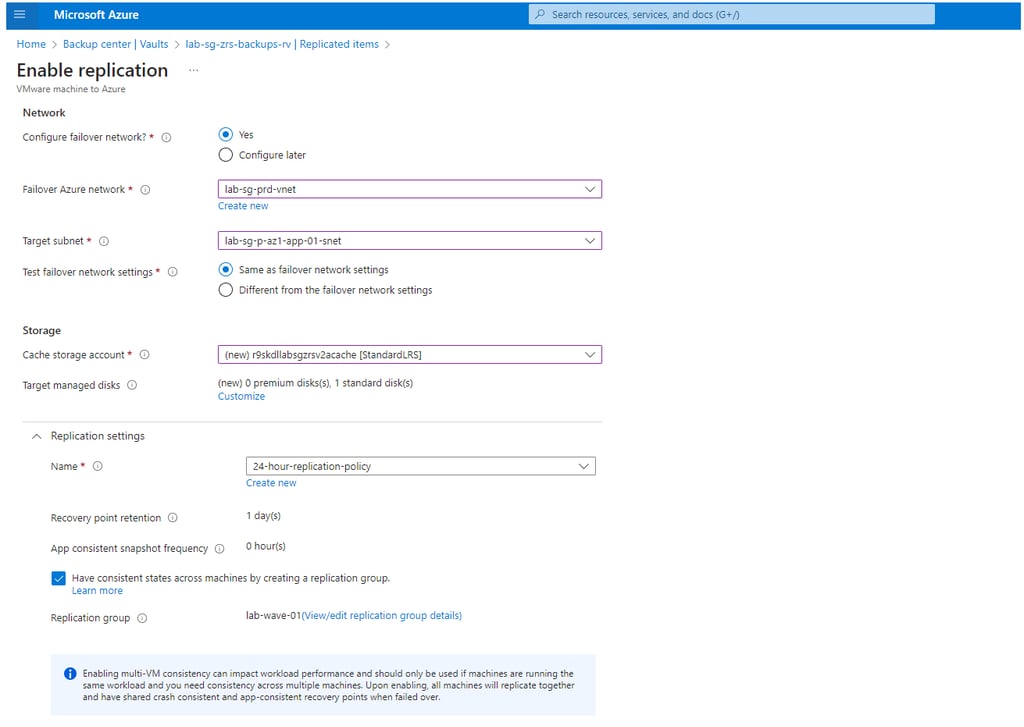
Select the target Resource Group and Storage Account in the target subscription where the VM should be replicated.
Configure the disks, networking, and other parameters as per your requirements.
Step 4: Enable Replication
Review all the settings and click Enable Replication.
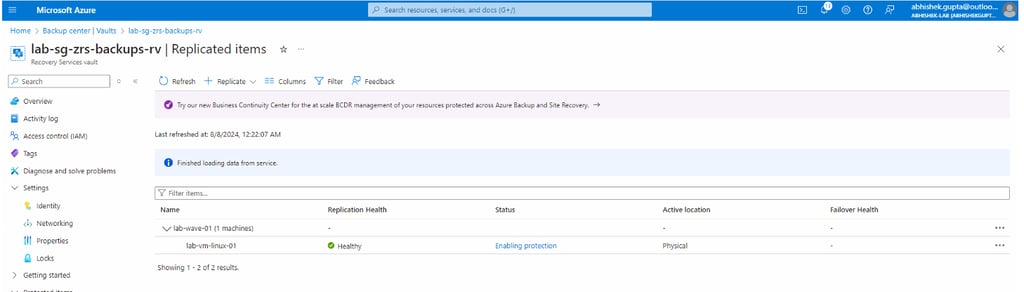
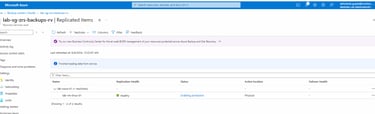
ASR will start replicating the source VM data to the target subscription.
You can monitor the replication progress under the Replicated Items section of the Recovery Services Vault.
The initial replication might take some time depending on the size of the VM.
Step 5: Perform a Test Failover (Optional but Recommended)
Before performing the final migration, it's always recommended to do a test failover.
In the Recovery Services Vault, go to Replicated Items.
Select the VM and click on Test Failover.
Choose a network in the target subscription to test the failover without affecting the production network.
Once the failover is successful, validate that the VM is functioning as expected in the target subscription.
Step 6: Perform the Final Failover
Once you're confident that the migration is successful, perform the final failover.
Navigate to the Replicated Items in the target Recovery Services Vault.
Select the VM, and click on Failover.
Confirm the failover by selecting the target virtual network.
ASR will initiate the failover, and the VM will be migrated to the target subscription.
Migrating Azure VMs between different subscriptions across tenants may seem challenging, but Azure Site Recovery (ASR) makes the process simpler and more efficient. By treating source Azure VMs as physical servers, we bypass the limitations of tenant migration and leverage the powerful replication and disaster recovery capabilities of ASR.
With this step-by-step guide, you can now confidently migrate Azure VMs across subscriptions and tenants with minimal downtime and disruption.