From Pixels to Predictions: Image Classification with TensorFlow on AWS SageMaker
This tech blog outlines a project where a deep learning model is built using TensorFlow and Keras to automatically classify LEGO bricks from images. By preprocessing 600 labeled photos and training a neural network, the model reaches about 90% accuracy—making brick sorting faster and smarter. 🧱✨
AMAZON WEB SERVICESAIML
Abhishek Gupta
7/15/20254 min read


Image classification is one of the most popular applications of machine learning. In this tutorial, we combine the power of TensorFlow—an industry-standard machine learning framework—with Amazon SageMaker, a scalable cloud-based platform, to build a simple image classifier that recognizes various LEGO bricks.
Whether you're new to ML or looking to deploy scalable models on AWS, this walk-through lays out each step for building and evaluating a neural network.
🧰 Tools & Technologies Used
TensorFlow - Open-source deep learning framework used to build and train the classifier
Keras API - High-level TensorFlow API for designing neural networks
NumPy - Library for array manipulation, used to handle image data
Amazon SageMaker - Fully managed ML platform from AWS for building, training, and deploying models
Jupyter Notebook - Interactive development environment for running Python code
These tools together create a fast, scalable, and flexible development setup suited for both experimentation and production deployment.
🧠 What Is a Neural Network?
A neural network is a computational system inspired by the structure of the human brain. It learns to recognize patterns in data through interconnected layers of "neurons."
✨ Key Concepts
Neurons: Basic units of computation that apply transformations to the input data.
Layers:
Input Layer: Accepts image pixels.
Hidden Layers: Extract features through dense interconnections.
Output Layer: Provides classification results (e.g., which LEGO brick is shown).
Activation Functions: Introduce non-linearities; common examples include ReLU and Softmax.
Forward & Backward Propagation: Mechanisms for learning patterns and optimizing weights based on errors.
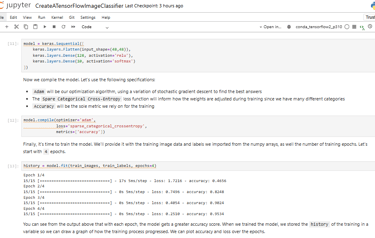
🤖 Model Architecture in This Project
model = keras.Sequential([
keras.layers.Flatten(input_shape=(48,48)),
keras.layers.Dense(128, activation='relu'),
keras.layers.Dense(10, activation='softmax')
])
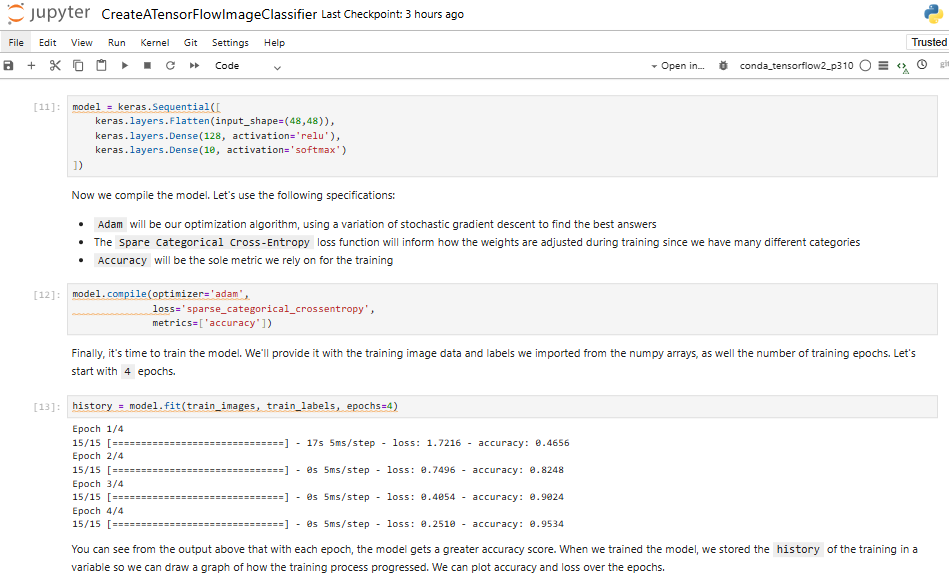
This is a feedforward neural network designed to process 48×48 pixel grayscale images and classify them into one of 10 LEGO brick categories.
🧪 Step-by-Step Implementation
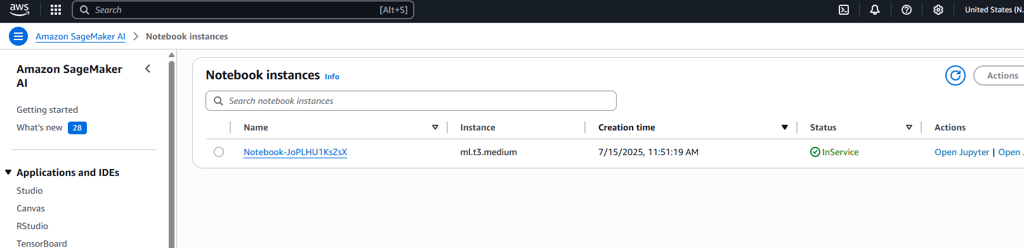
✅ Step 1: Log Into AWS SageMaker
Log into AWS Console
Search for SageMaker, open the service, and find the Notebooks section.
Wait for the notebook to show InService, then click Open Jupyter.
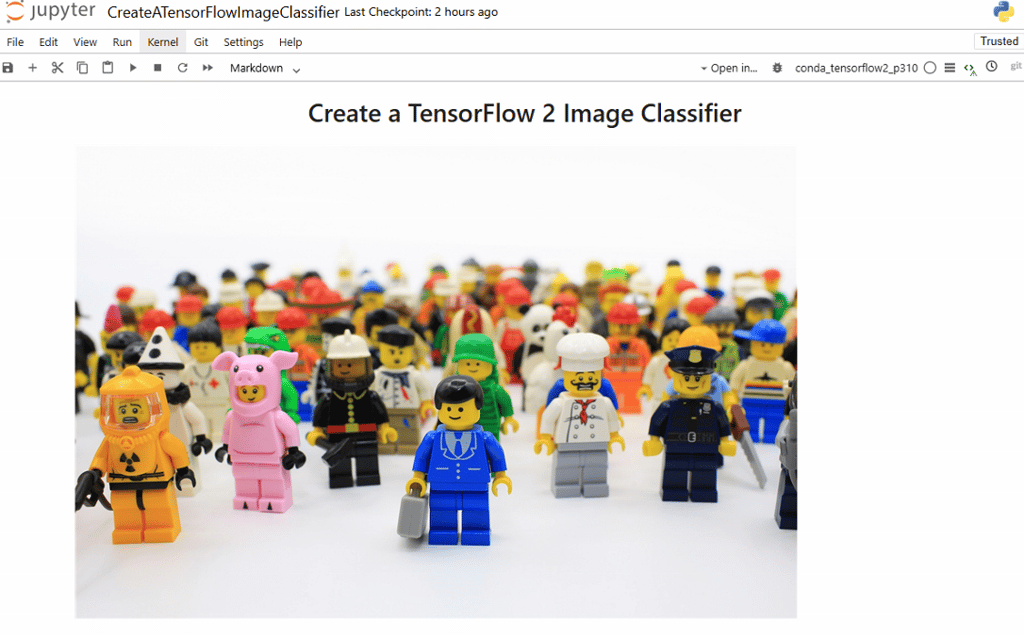
📦 Step 2: Load and Prepare Image Data
Make sure the kernel supports TensorFlow 2 (conda_tensorflow2_p36).
Import required libraries using:
import tensorflow as tf
from tensorflow import keras
import numpy as np
import matplotlib.pyplot as plt
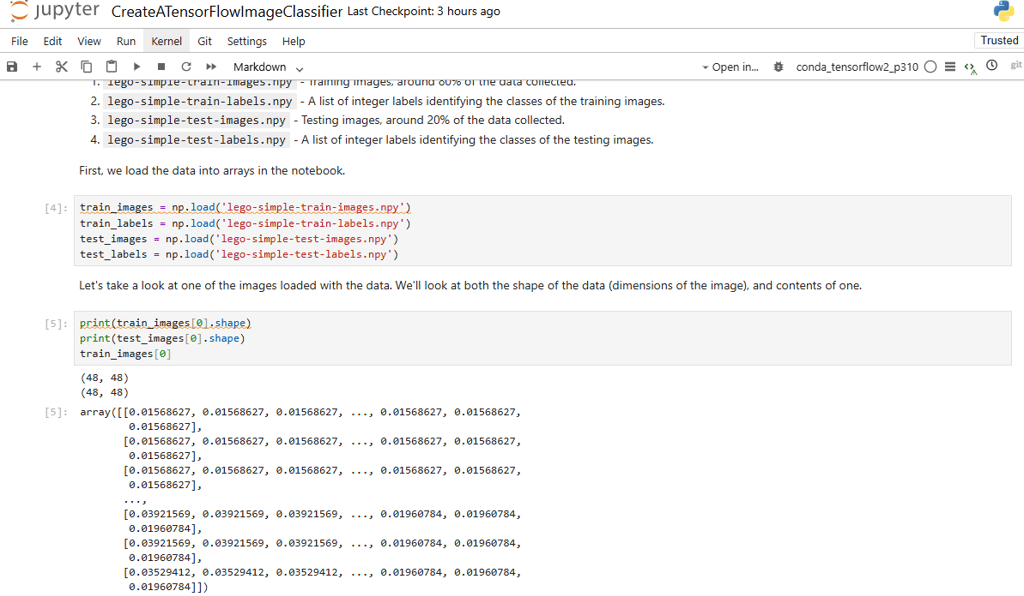
Load training and testing data:
train_images = np.load('lego-simple-train-images.npy')
train_labels = np.load('lego-simple-train-labels.npy')
test_images = np.load('lego-simple-test-images.npy')
test_labels = np.load('lego-simple-test-labels.npy')
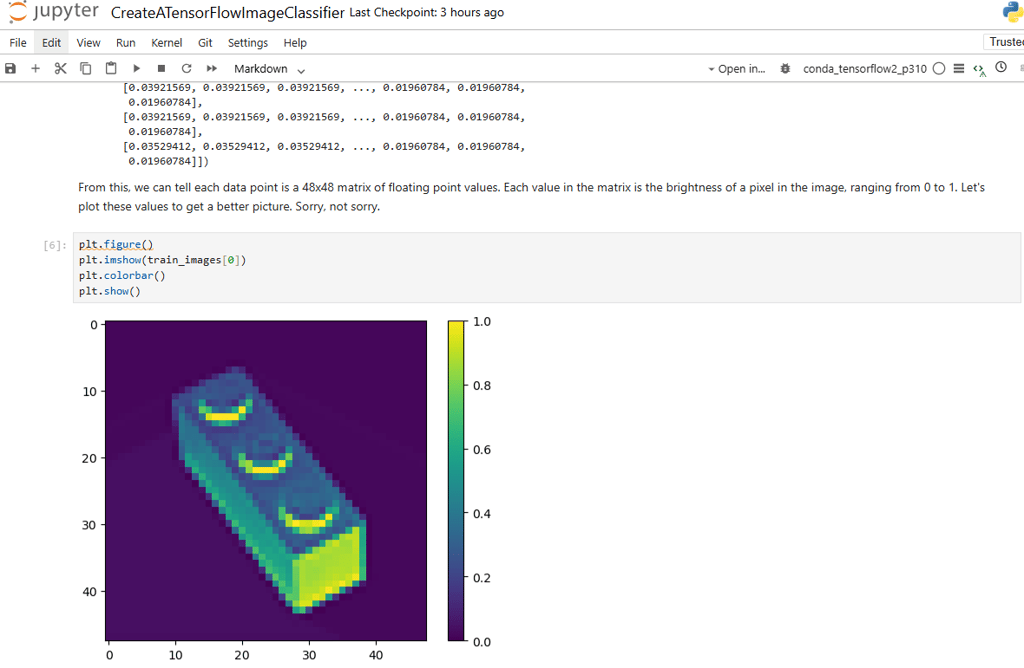
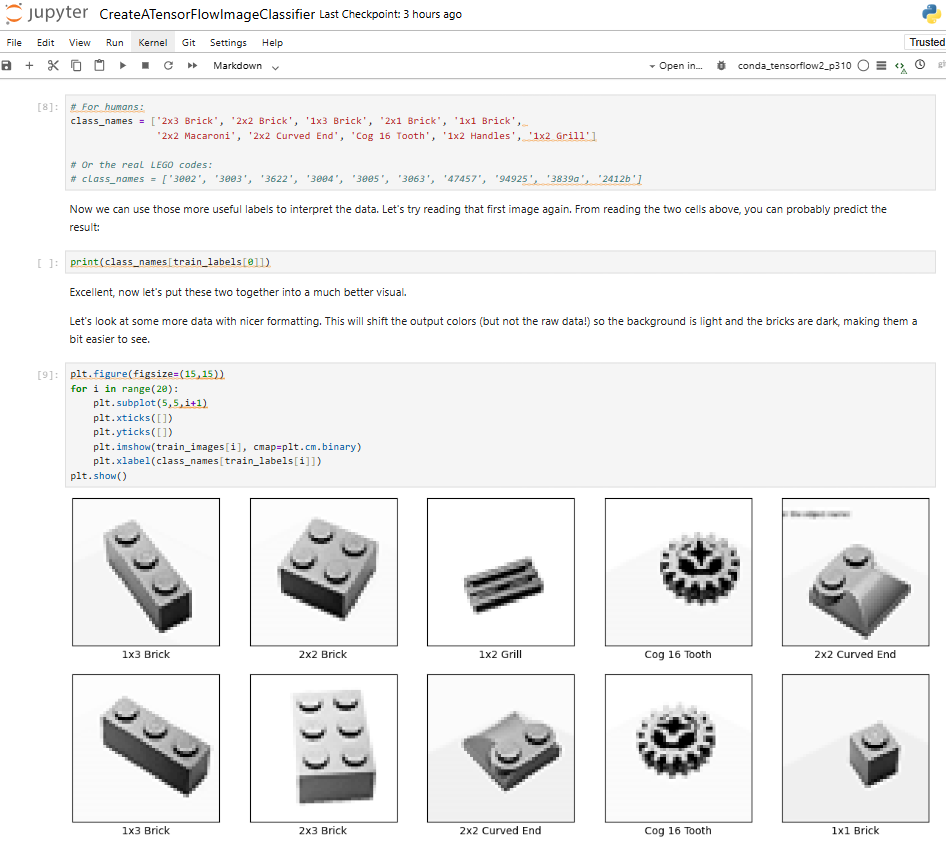
Define and visualize the class_names and initial images to understand input distribution.
🏗️ Step 3: Build and Train the Model
Create the sequential model using Keras:
model = keras.Sequential([
keras.layers.Flatten(input_shape=(48,48)),
keras.layers.Dense(128, activation='relu'),
keras.layers.Dense(10, activation='softmax')
])
Compile and train:
model.compile(optimizer='adam',
loss='sparse_categorical_crossentropy',
metrics=['accuracy'])
history = model.fit(train_images, train_labels, epochs=4)
Visualize training history to monitor accuracy and loss over epochs.

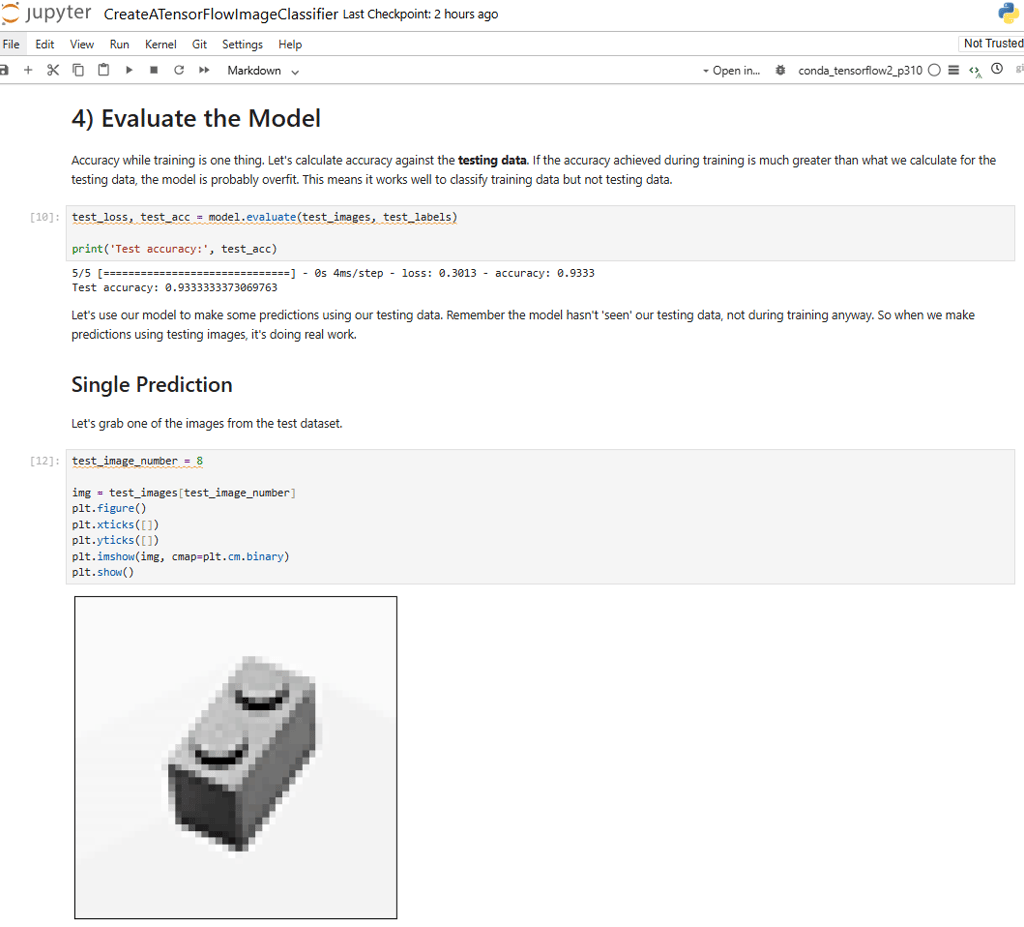
🧪 Step 4: Evaluate and Predict
Evaluate model performance:
test_loss, test_acc = model.evaluate(test_images, test_labels)
print('Test accuracy:', test_acc)
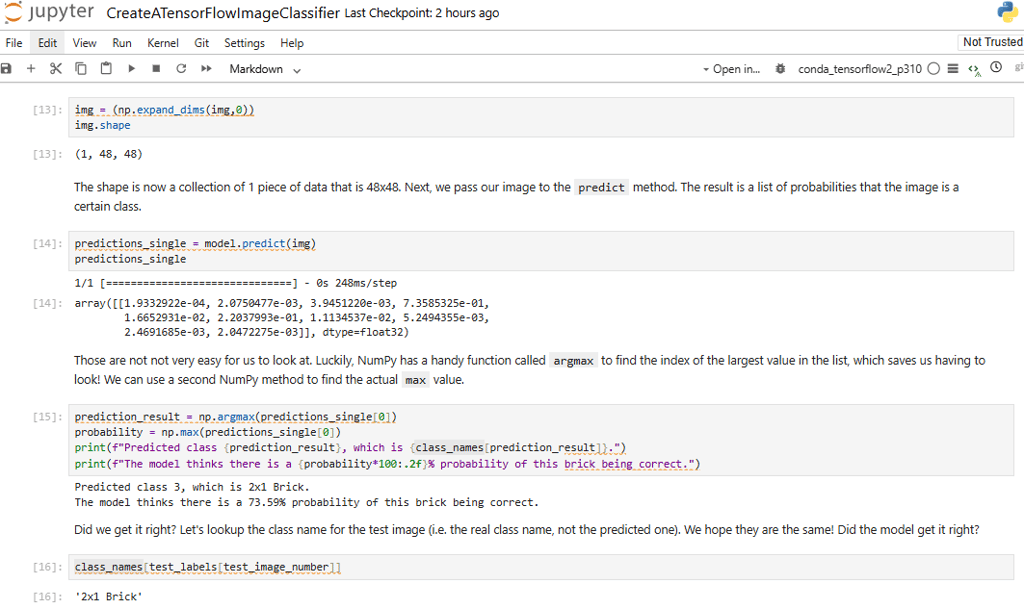
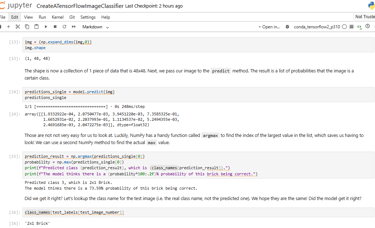
Make and analyze a single prediction:
predictions_single = model.predict(img)
predicted_label = np.argmax(predictions_single[0])
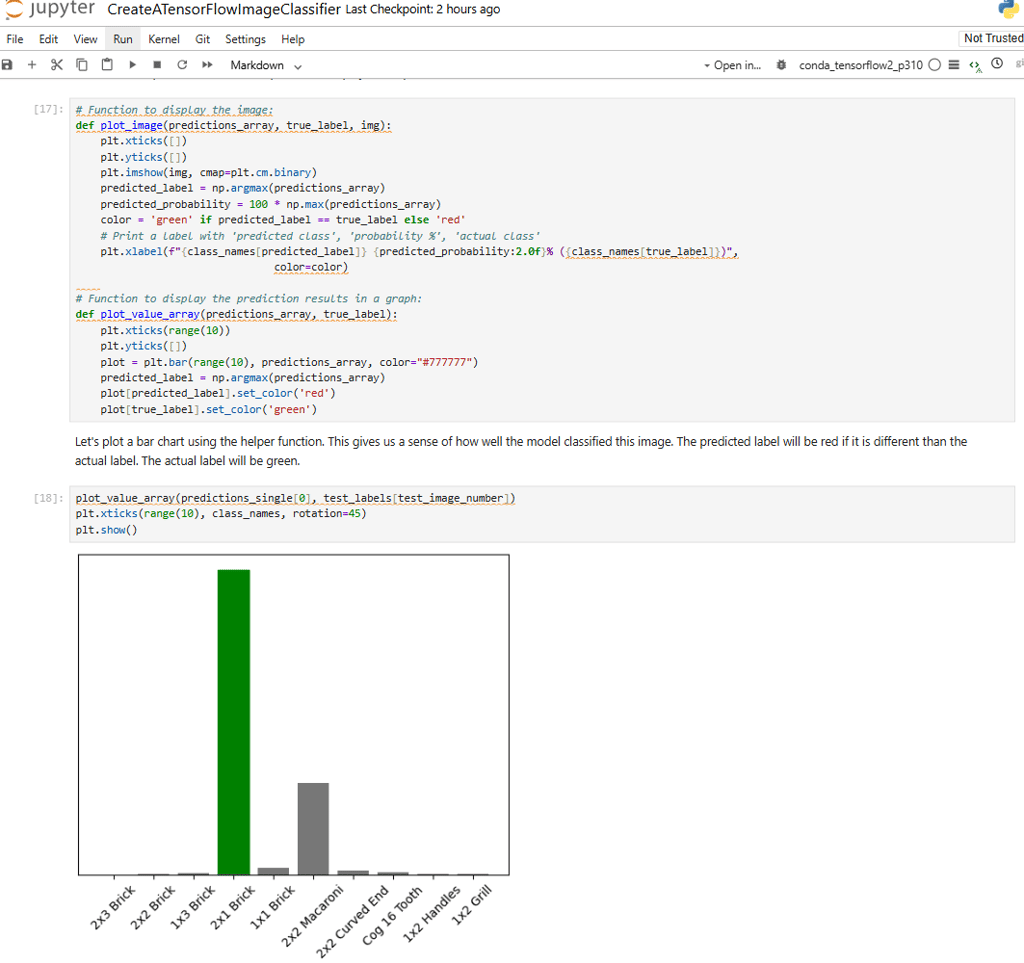
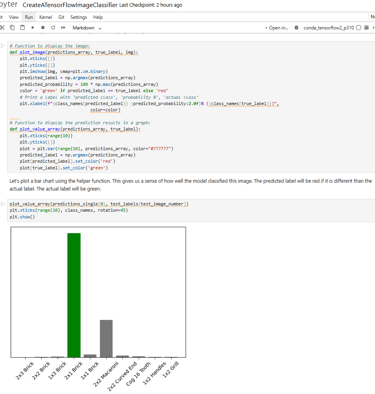
Visualize predictions with graphs and bar charts to understand model confidence.
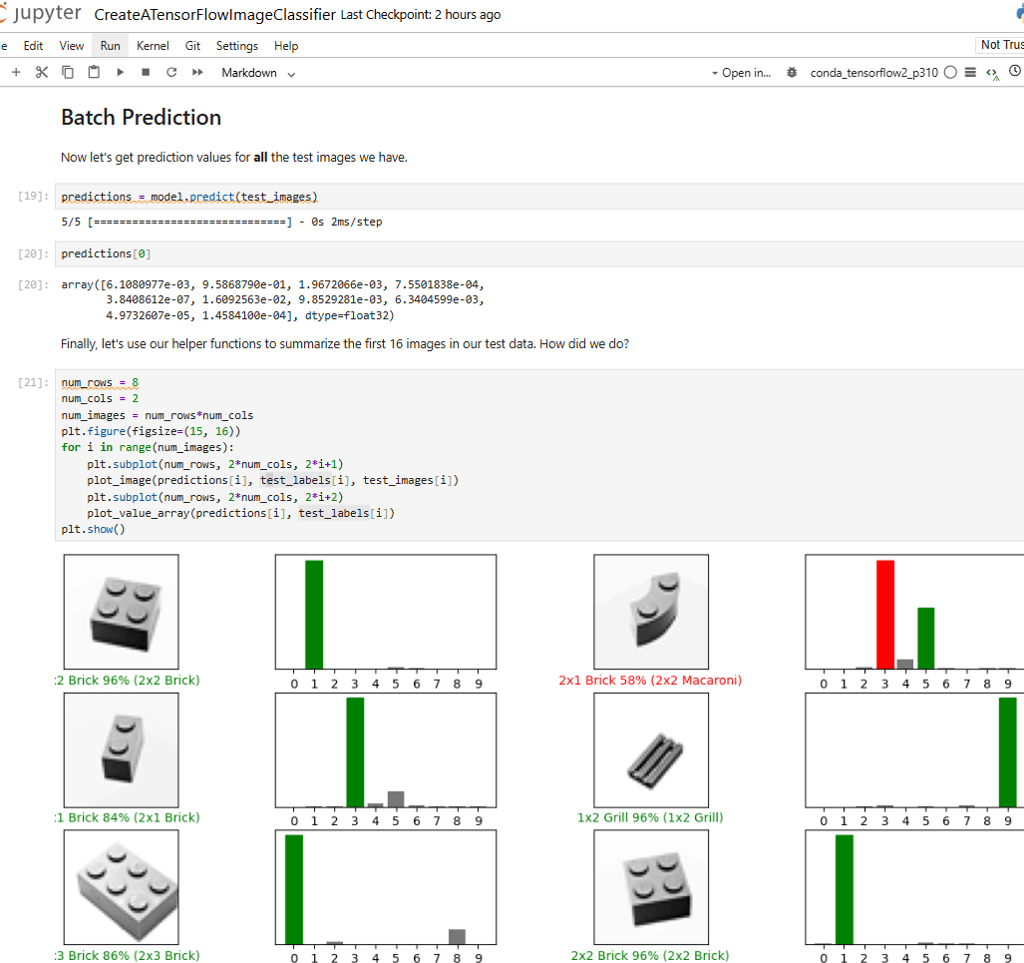
📈 Step 5: Batch Predictions
Predict on the entire test dataset:
predictions = model.predict(test_images)
Display bar chart results for first 16 test images to evaluate prediction consistency visually.

💡 Use Cases
The image classification workflow introduced here can be extended far beyond LEGO sorting:
🤖 LEGO Sorting Robots - Automate physical sorting of LEGO bricks using camera input
🏭 Assembly Line Inspection - Identify product defects or mismatches via image classification
🛒 Retail Shelf Management - Scan shelves and auto-detect stock levels or misplaced items
📚 EdTech Learning Tools - Let students explore ML by classifying toys, animals, or shapes
🧬 Medical Diagnostics - Adapt architecture to identify patterns in X-ray or MRI images
Combining TensorFlow and Amazon SageMaker unlocks a powerful synergy for building scalable machine learning solutions. From importing simple datasets to deploying complex models, this project is a solid foundation for tackling more advanced use cases.
You’ve just built a LEGO classifier—but the possibilities extend to facial recognition, wildlife classification, fraud detection, and beyond. Try adding convolutional layers or integrating deployment pipelines for further enhancement.
🧱 One brick at a time… and soon you’ll be building intelligent systems with architectural finesse.